
How to Align CAD in SketchUp

Modelling from CAD within SketchUp – where do I start?
If you are modelling within SketchUp, you will need to know how to import and align CAD drawings. Whether your own or somebody else’s; well-aligned CAD drawings are the literal foundations upon which you build your SketchUp models.
Let us explore how to align CAD in the most efficient way possible. To clarify; the plan is for us to import CAD before tracing over it to create our 3D model. Let’s get started!
Importing…
When initially importing a CAD file (in .dwg format), it normally enters the SketchUp workspace as a completely flat group.

Next step; organisation
Organisation…
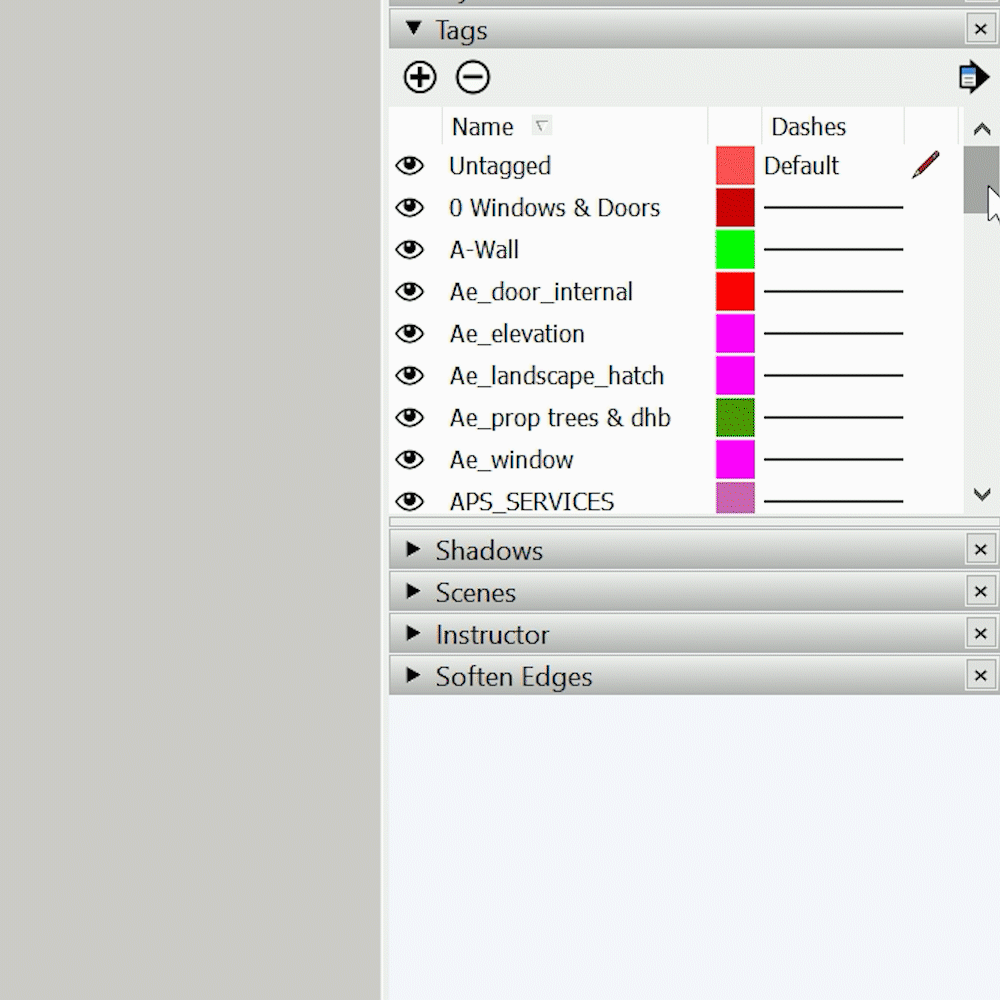
Something else that you will notice is that all of the CAD layers are visible as tags within SketchUp. We don’t need all of these so we can compress these tags down into one which we’ll rename CAD. I would now recommend creating a tag to be used for the massing of our 3D model.
When importing CAD into SKP, layers are preserved
We also need to ensure that each floor plan and elevation is grouped separately.

Grouping geometry protects it from being warped when manipulating later.
Reposition…
Now that we have organised our drawing, let’s begin positioning the plans and elevations. Take the ground floor and move it over to the origin as shown (also remember to align right angles on the plan with the red and green axis as you can see here)

Moving the GF Plan to the origin is a great way to ensure that you are modelling using the red and green guides (or axes)
The next step is to align the elevations around the ground floor plan. Pay special attention to things like window and door openings, because we use these features to resolve whether or not we need to flip our elevations.

Move and rotate your elevations to ensure that they are aligned with your plans. Remember to cross-reference to ensure correct alignment!
We can now stand up our elevations by using the rotate tool. A tip from us is to use the direction buttons on your keyboard once the rotate tool is active, as this will better enable you to lock the orientation of your rotation!

It is best to use the rotate tool to ensure that all elevations are stood up in preparation for modelling later.
Now simply place your first-floor plan over the top of your ground floor plan and lift up to the correct height as shown on the elevations. Repeat this step for each additional floor.
And hey presto you have now successfully aligned your CAD drawings!
Next step: start modelling!
For more information on how this is done in practice, check out our Access into SketchUp and Top-Up courses, taught online with the Archilime Academy!